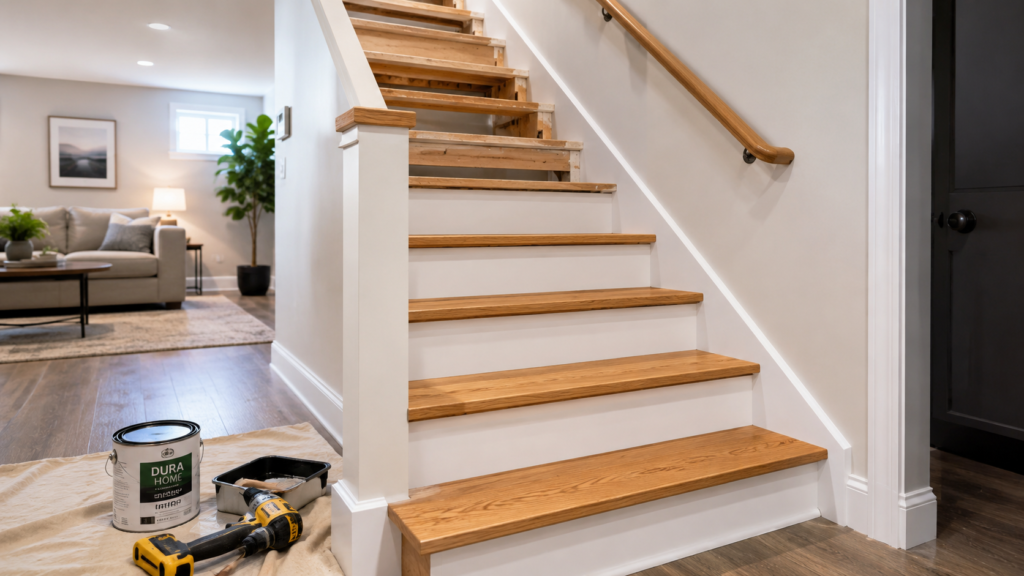
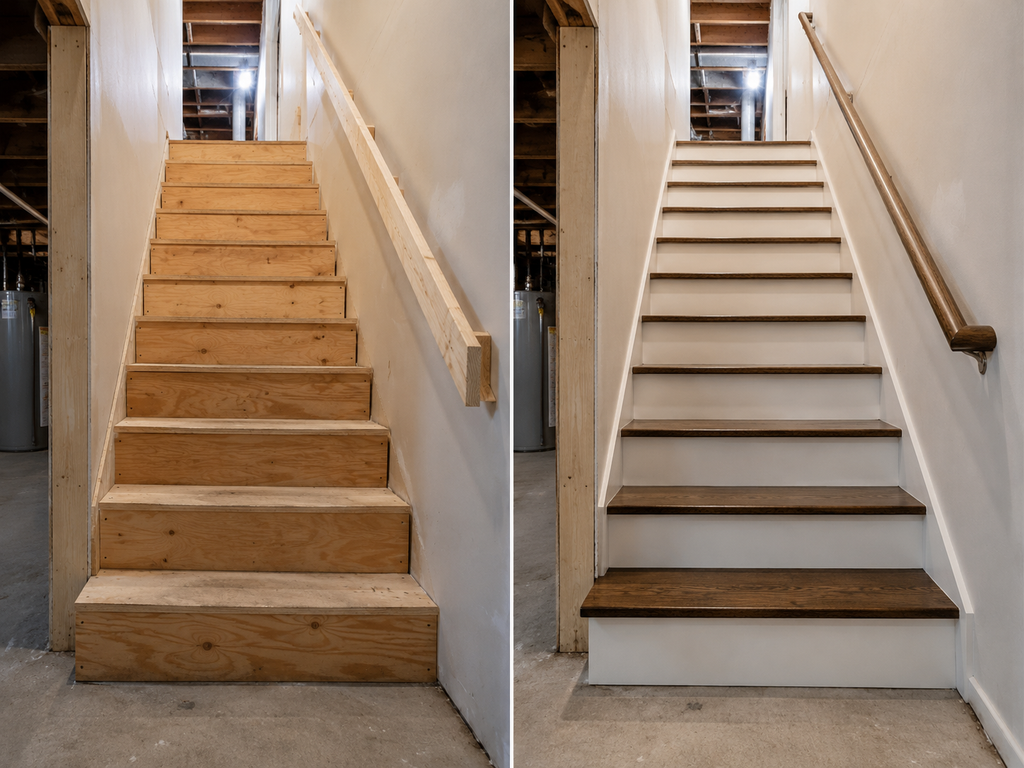
You flip on the light at the top of the basement stairs, and there it is again: bare plywood treads, a 2×4 screwed to the wall standing in for a railing, and carpet that gave up around 2004. Everything else down there got finished. The staircase never did.
That gap matters. The stairway sets the tone for the whole basement before anyone reaches the bottom step. The good news is that learning how to remodel basement stairs is mostly a weekend-scale job, as long as you check one thing before buying a single board. Two homeowners documented this exact project in public, copper risers and all.
First, an honest look at what’s under that carpet.
Start by figuring out what you’re actually working with
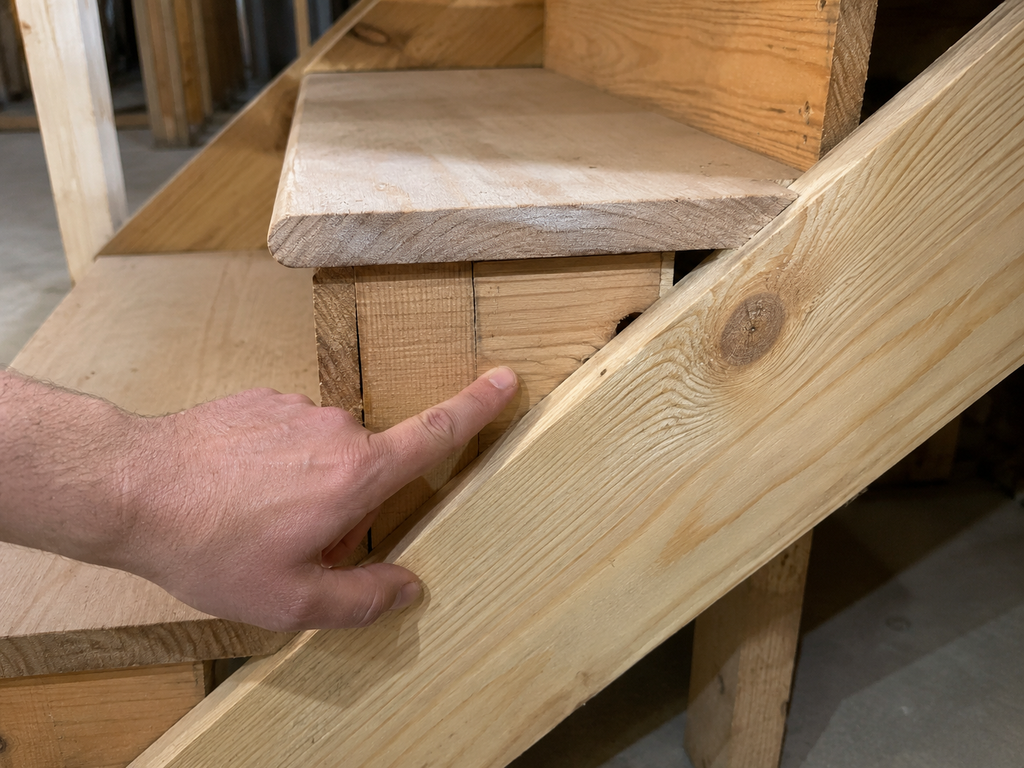
Take a flashlight down and look at the stringers — the sawtooth boards on each side that the steps sit on. Solid, dry, and crack-free means you’re doing a cosmetic project. Split, soft, water-stained, or pulling away from the stair wall means you should stop and have a licensed contractor or structural engineer look before you spend a dollar on treads.
Pull back a corner of the old carpet, and you’ll usually find plain plywood, rough pine treads, or treads already covered in vinyl. Give each step a bounce: squeaks and slight flex mean loose fasteners or a tread separating from the stringer, both fixable. A step that moves noticeably under your weight belongs to a pro.
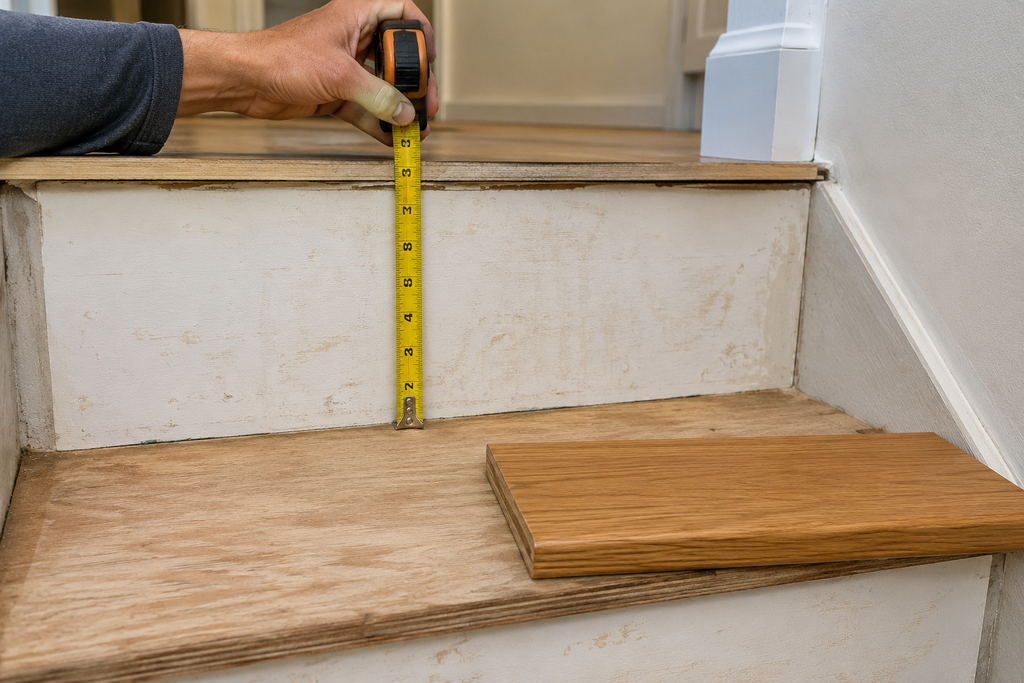
Then measure the rise of every step, top of one tread to top of the next, and write the numbers down. They’re the reason a lot of stair projects go sideways.
How much does a basement stair remodel cost?
Costs swing widely by region, material, and how much you do yourself.
Fixr’s January 2025 cost guide puts refinishing hardwood stairs at $200 to $1,000, painting or staining a standard staircase at $250 to $600, and replacing treads and risers on a 12-step flight at $400 to $1,500. Replacing a handrail runs $300 to $700 for a standard 10-foot length.
Sources disagree once labor enters. Stair tread supplier Oak Valley Designs figures $30 to $75 per tread for materials, and $100 to $200 per step once a pro installs treads and risers together — noticeably higher than the Fixr numbers.
Step 1: Strip the existing stair back to bare wood
Pull the old carpet off in strips, then hunt down every staple and tack — one missed staple telegraphs right through paint. Scrape off construction adhesive with a stiff putty knife; heat from a hair dryer softens it enough to lift without gouging the wood.
Then sand. An orbital sander with 80-grit knocks down glue haze, splinters, and years of wear and tear; follow with 120-grit anywhere you’ll stain, then vacuum and wipe with a tack cloth. While the stairway is bare, screw each loose tread into the stringer to kill squeaks and fill gouges with wood filler. It’s the unglamorous part of any DIY basement stair remodel.
Step 2: Refinish, cap, or replace — and the measurement that decides it
Three paths, cheapest first.
Refinish the existing stair. If the treads are solid wood in decent shape, sanding and finishing them is the cheapest, and every dimension stays exactly as it is.
Cap them with new treads. The popular DIY route: 3/4-inch oak treads and thin riser boards glued and screwed over the existing steps. It looks like a rebuild for a fraction of the work — but it quietly changes the height of every step. Under the residential code, the tallest and shortest riser in one flight can’t differ by more than 3/8 inch, with a 7 3/4-inch maximum riser and a 10-inch minimum tread depth — though code consultant Glenn Mathewson notes that some amended codes allow risers as tall as 8 1/4 inches. Adding 3/4 inch on top of each tread lifts every step equally, except the top and bottom, where the floor above and the slab below don’t move with you. That’s where uniformity gets blown, and inspections fail. Measure your risers, add your tread thickness on paper, and check the top and bottom steps before you buy anything.
Replace treads and risers outright. Cutting new treads to length with a circular saw and fastening them to the stringers gives you full control of the dimensions — and the most exposure. Stringer work is structural, so bring in a licensed contractor and confirm what your building department requires before starting; adopted code editions and local amendments differ by state and city.
Step 3: Paint or stain, and where each one belongs
The look most people want: stained treads, white risers. It reads clean, hides scuffs where they happen, and costs barely more than one color everywhere.
There’s a practical reason for the split. Treads take the traffic, so they need a hard finish — floor-grade polyurethane or porch-and-floor enamel, never wall paint. Risers barely get touched, so a durable white enamel is fine there, and the white wood makes the stairway feel taller and brighter.
Finish every other step, let it cure, then do the rest, or you’re stuck upstairs or down for a day. Add an anti-slip additive or grip strips to painted treads — glossy paint is slick in socks. Paint the stringers and stairway wall to match the risers, and the staircase reads wider; the space feels larger.
Step 4: Handle the railing and the stairway wall
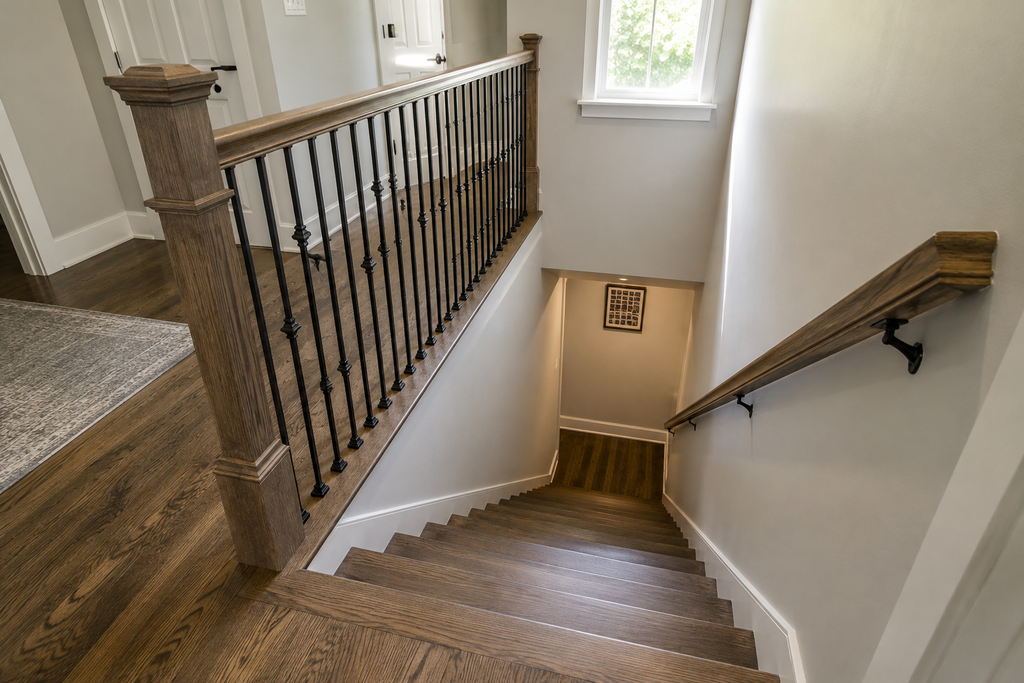
A handrail isn’t a design choice. Under the residential code, stairs with four or more risers need a handrail, and it has to resist a 200-pound load pulled in any direction. That load figure is why a rail screwed into drywall isn’t a rail — brackets need framing or solid blocking, and a newel post gets anchored into the structure.
Opening up the stairway wall — a closed wall traded for an open staircase with balusters — makes the stairway part of the house instead of a passage to it and lets natural light down from the main floor.
But that wall may be doing a job. Removing framing beside or above a staircase can be structural, and stair work is height work: you’re on a ladder, over a drop, often cutting overhead. Have a licensed contractor or structural engineer confirm the wall is non-load-bearing, and pull whatever permits your city requires before anything comes out.
What two documented basement staircase makeovers looked like
Robin and Ed Hicken of Frugal Family Times documented their own basement stairs makeover in detail. Their steps started as plywood covered in peeling sheet vinyl, with a 2×4 for a railing. They capped it with color-matched oak treads, added oak risers up top and copper risers below, built their own railing, and finished with Varathane matte polyurethane that they report has “held up to multiple kids, pets, winter snow, spring mud.” Their advice for anyone facing a whole staircase: start with the ugliest part and work backwards.
Jessica Bruno of Four Generations One Roof opened hers up instead. Her husband removed the 2×4 framing where a wall had been planned and framed an opening for a handrail and black iron balusters, with oak treads in Valspar Cognac and risers in Sherwin-Williams Extra White. Her take: “Opening a stairway wall is one of the biggest things you can do in your home to make an open basement feel custom.” Her post doesn’t mention a load-bearing assessment, though, and yours should.
Finishing touches that tie the stairs to the rest of the basement
A carpet runner quiets the stairs, adds grip, and brings in color without a permanent commitment.
Lighting is the upgrade people skip and then wish they hadn’t. A stairway lit by one bulb feels like a tunnel; sconces or step lights fix it. New wiring is electrical work — hire a licensed electrician and check your local code first. Carry the same trim and color into the rest of the basement so the stairway stops reading as a leftover.
The Bottom Line
If you take one thing from all this, make it the tape measure. Almost every staircase project that ends in a redo — or a failed inspection — starts with someone adding thickness without checking the top and bottom risers.
So start today. Take a flashlight down, look at the stringers, measure the rise of every step, and pencil the numbers on the wall. In twenty minutes, you’ll know whether this is a paint project or a phone call to a contractor.
Reviewed by our editorial team, informed by licensed professionals and industry sources cited above.
FAQs
Do I need a permit to remodel basement stairs?
It depends entirely on your city and the scope of work. Cosmetic refinishing usually doesn’t trigger a permit, while anything touching stringers or a stairway wall often does — confirm with your local building department before starting.
How much headroom does a basement stairway need?
The residential code sets a minimum ceiling height of 6 feet 8 inches above stairs and landings, measured from the tread nosings. Adoption and amendments vary, so confirm the figure your jurisdiction enforces before you change tread thickness. Basement stairways are often tight here because of ductwork and beams, so measure before adding tread thickness or a dropped ceiling.
How long does a basement stair makeover take?
A strip-and-paint refresh is typically a weekend project spread over several days, mostly because each coat of finish needs to cure and you can only do one step at a time. Capping or replacing treads adds significantly more time.
Can I remodel basement stairs in a rental or condo?
Stairs are a shared structure in many condo buildings and are usually the landlord’s property in rentals, so written permission and a review of your HOA or lease terms should come before any work.
What’s the cheapest way to update basement stairs?
Painting the existing treads and risers is the lowest-cost option, with painting or staining a standard staircase estimated at $250 to $600. A carpet runner over painted steps is the next step up in both cost and comfort.
