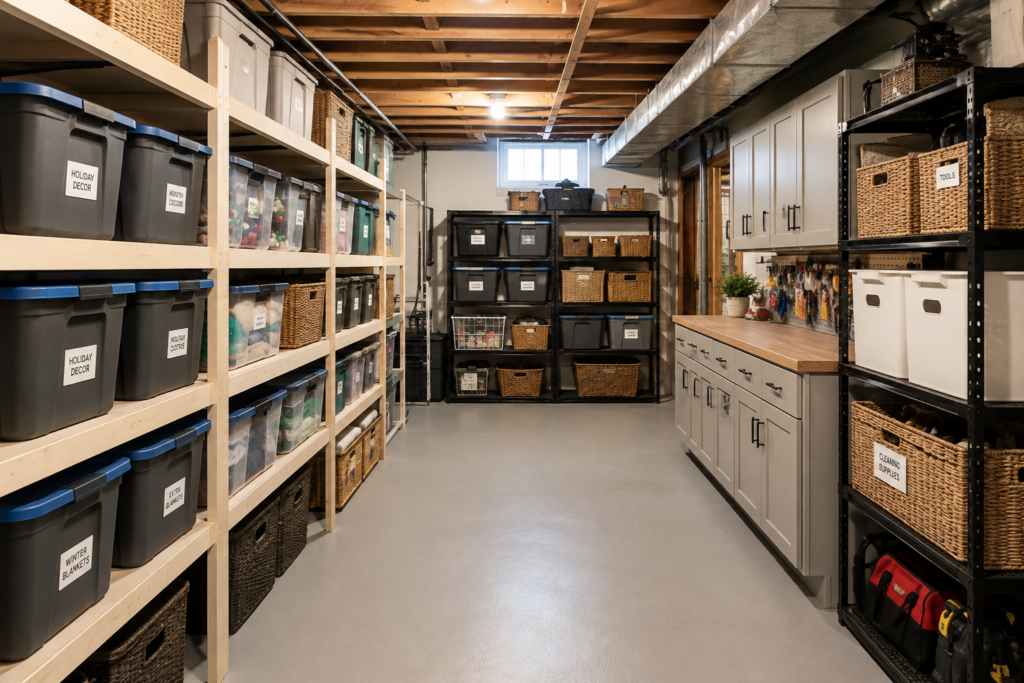
You head downstairs for the holiday bins and end up shifting four boxes, a folding chair, and somebody’s old ski gear just to reach them. Half of what’s down there hasn’t been touched in years. The other half you can’t find at all.
Most basement storage room ideas start with a shopping list — shelves, totes, hooks, a label maker. That’s backwards. A basement is damper, dustier, and more crowded with equipment than any other room in the house, and the storage that lasts down there is the storage that respects those three facts. Get that part right, and the tidy part takes care of itself.
One of the professional organizers quoted further down starts somewhere else entirely, and not at a hardware store.
Start with zones, not shelving
Before you buy a single shelf, decide what the room is for. Gina Hartranft, an expert organizer with the home and life organizing service Orgnze, told HuffPost that “the first step is to determine how you intend to use the space,” and once that’s clear, to “establish zones for different categories of items.”
A zone is just a named patch of floor or wall: holiday decorations here, luggage there, tools along the far wall, camping gear by the door. Mark them out with painter’s tape before anything goes back in.
Do the sorting first, too. Drag everything into the open and make four piles — keep, donate, throw away, and belongs in another room. Most people find the storage room they thought they needed is mostly full of things they’d already stopped using.
Zones are what make an organized basement stay organized. A shelf filled at random goes back to clutter in a month; a shelf with a job holds for years.
What you shouldn’t store in a basement at all
Some things don’t belong in a basement, no matter how good your shelving is, and moisture is the reason. The EPA recommends keeping indoor relative humidity below 60 percent — ideally between 30 and 50 percent — and notes that if damp materials are dried within 24 to 48 hours, mold usually won’t grow.
In most homes, that rules out a short list: irreplaceable paperwork and photographs, upholstered furniture you plan to use again, and anything made of untreated wood or fabric you couldn’t replace. Keep those upstairs in conditioned space.
Food is its own case. The National Center for Home Food Preservation lists 50 to 70°F as the best storage temperature for canned and dried foods, and many basements sit in that range most of the year. That only helps if the room stays dry and the temperature holds steady. If yours floods, sweats, or bakes next to the furnace, keep the pantry overflow somewhere else.
Whatever passes those tests belongs on shelves — and those shelves have to be right.
Choose basement shelving by its load rating, not its looks
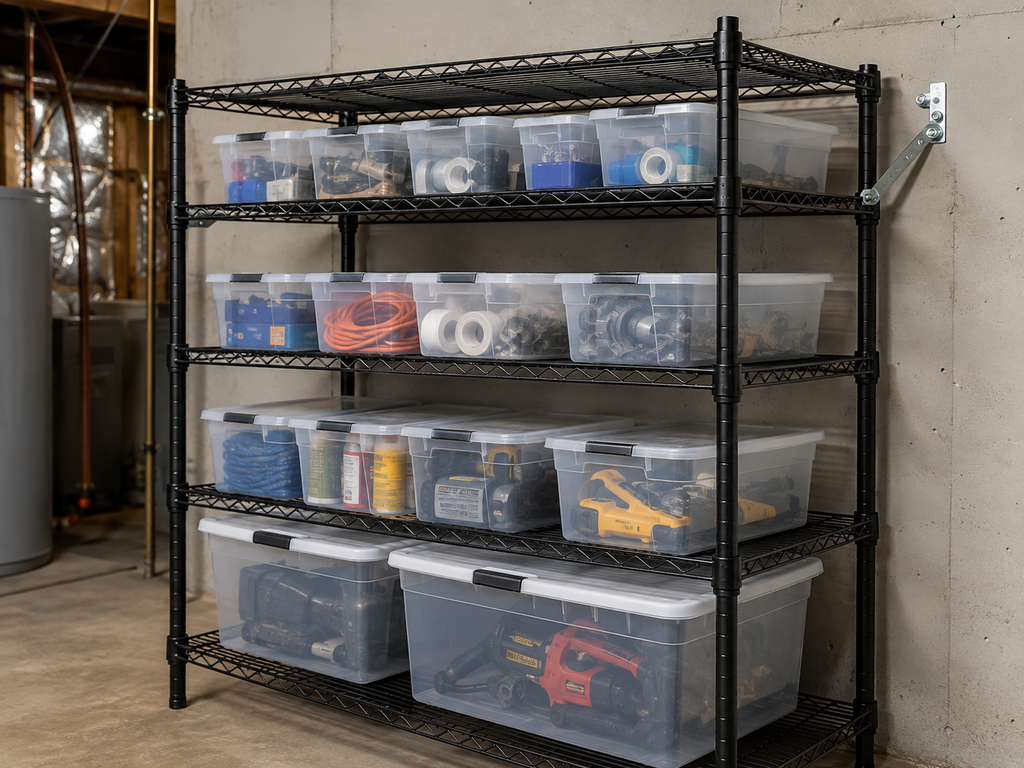
Particleboard and bare wood shelving are the wrong tools for a basement: they swell, sag, and hold odors. Steel wire, powder-coated steel, and heavy-duty plastic shrug off damp air far better, and a wire shelf lets air move around your bins instead of trapping it.
The number worth checking before you buy is the per-shelf weight rating, printed on the box or product page rather than the shelf. One commercial shelving supplier rates its chrome wire shelving at 500 pounds per shelf with the weight spread evenly, while the same style of unit on casters is rated for 600 pounds total across the whole unit. Wheels cost you capacity, so decide which matters more before you load up.
Hartranft’s rule for using a shelving unit is simple: attach it securely to the wall, and always put the heaviest items on the lower shelves. A tall rack loaded heavily at the top is a tipping hazard, especially around kids.
If you’re anchoring shelves or a wall cabinet into a concrete or block foundation wall and you aren’t confident about the fasteners, have a licensed contractor handle it. Foundation walls are structural, and a pulled anchor takes masonry with it.
Bins, baskets, and labels that keep the room tidy
Cardboard is the default storage container and a poor one. It soaks up damp, collapses when stacked, and houses insects. Swap it for plastic.
Hartranft recommends bins that are resealable, waterproof, locking, stackable, with clear lids so you can see what’s inside. She also suggests slipping a written list of the contents into each container, where it stays visible through the side.
Label them anyway, on the end that faces out. “Christmas — lights and garland” beats “Christmas” when you’re on a step stool holding a flashlight. A label maker or a marker on masking tape both work, as long as the label survives a damp year.
For small loose items — extension cords, tape, batteries, hardware — open baskets on a shelf beat one deep bin you have to dig through. Use closed storage for what needs protecting from dust, and open shelves for what you reach for often.
How do you use wall and ceiling space in a basement?
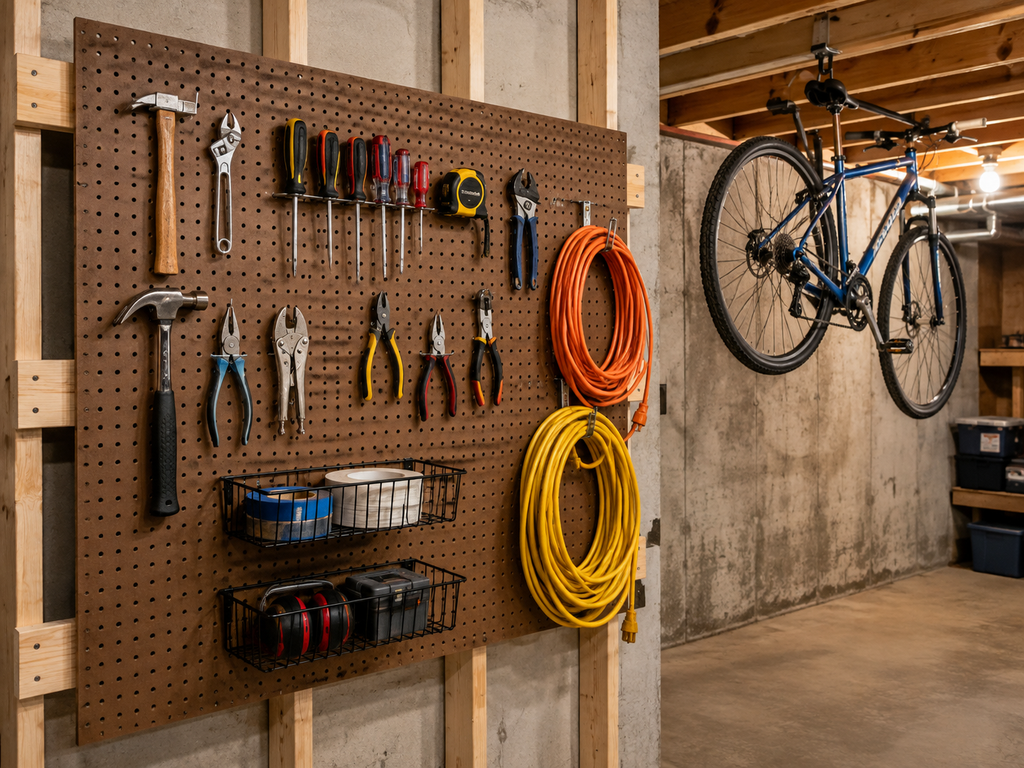
Floor space in a basement runs out first, so the best storage ideas move weight onto the walls and overhead.
A pegboard is still the cheapest way in. Mounted on furring strips so the hooks have clearance behind them, one sheet turns a blank stud wall into visible storage for hand tools, cords, garden gear and craft supplies. Add small metal baskets, and it handles little things too.
Cynthia Kienzle, a professional organizer and founder of The Clutter Whisper in New York City, recommends making use of vertical wall and ceiling space — and avoiding unstable shelving while you do it. In an unfinished basement, exposed joists are the obvious place to hang bikes, ladders, and seasonal gear on heavy-duty hooks.
That’s also where the caution belongs. Overhead racks put load on framing you can’t fully see, and installing them means working off a ladder over your own head. Have a licensed contractor size and mount anything heavy overhead, and check with your local building department before attaching a rack to structural framing — requirements vary by state and municipality.
What can you fit under the basement stairs?
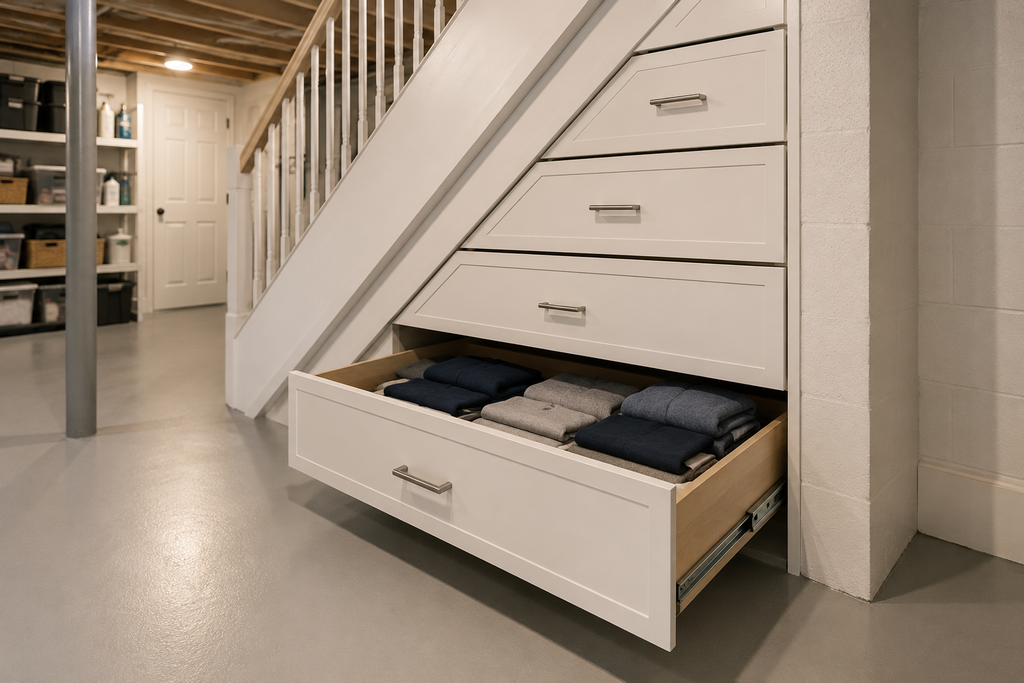
The triangle under the basement stairs is usually the most wasted space in the house. What fits depends on the staircase. A straight run gives you one deep, uninterrupted cavity. An L-shaped or U-shaped set of stairs breaks the space into smaller pockets that suit drawers better than a closet.
The free version: slide stackable bins in, tallest at the back, and hang a curtain across the opening. A step-up is a freestanding shelf cut to the slope of the stringer. The full version is built-in — pull-out drawers on heavy slides or a small closet with a door.
Custom carpentry is the expensive route. Fine Line Homes puts DIY drawers under the stairs at $200 to $500 and a custom-made built-in by a finish carpenter at $2,000 to $5,000; DIY open shelves run $200 to $500 against $1,000 to $3,000 built to order. Prices swing by region and by how much you do yourself.
Before you close the space in with walls or a door, check your local requirements. Enclosed space under a staircase can carry fire-protection rules, and those vary by state and municipality. [VERIFY]
Keep the furnace and water heater zone clear
The mechanical corner is not storage. It’s the one part of your basement where filling every inch is actively dangerous.
The U.S. Fire Administration’s guidance is to keep anything that can burn at least 3 feet from all heat sources. In a basement that generally means the furnace, the water heater and the boiler [VERIFY — the cited guidance enumerates fireplaces, wood stoves, radiators, space heaters and candles; confirm the clearance your appliance’s manufacturer and local code require] — and “anything that can burn” covers the cardboard boxes, stacked paper, paint cans and bags of clothes that always seem to drift toward the warm corner.
Flammable liquids are a separate problem. Gasoline, kerosene, paint thinner, solvents, and aerosol cans give off vapors that can reach a pilot light or burner. They don’t belong in the same room as a fuel-burning appliance.
Leave service access clear, and never block the vents or air openings an appliance needs to breathe. Exact clearances come from the appliance’s own label and from local code, which varies by state and municipality — have a licensed HVAC contractor or plumber confirm what your equipment requires. Never attempt gas line work yourself; in most U.S. jurisdictions, it’s illegal without a license.
Control moisture before you fill the room
A dry basement is what makes every other storage solution work, and it costs less than replacing what damp ruins.
Start by measuring. An inexpensive hygrometer tells you where you actually stand against that 30 to 50 percent target. If you’re above it, a dehumidifier draining to a floor drain or sump — so nobody has to empty a bucket — is the usual fix. Size it to how damp the room is, not to square footage alone.
Then get everything off the basement floor. Bottom shelves, plastic risers, or a pallet under bulky items each buy you a few inches, and those inches are the difference between a wet floor and a ruined box. Anything you’d hate to lose goes higher up.
Fix leaks fast. Since damp materials that aren’t dried within 24 to 48 hours usually grow mold, a dripping pipe found on Saturday needs handling by Sunday, not next month.
When the basement can’t hold it all
If your basement fills back up within a season, the shelving isn’t the problem. The inflow is.
One pass a year through the zones catches it: anything you haven’t touched since the last pass either earns its space or leaves.
For genuine overflow — furniture between houses, business inventory, a boat cover in July — a self-storage unit usually costs less than losing the basement room. Paying to store things you’ll never use again does not.
And the space it frees is worth something. Plenty of basements have given up half a storage room to become a laundry area, a home office, or an extra room the whole house uses.
The Bottom Line
If one thing sticks, make it the order of operations: sort, then zone, then buy. Shelves, bins, and hooks are the easy part, and they only work once they’ve been given a job.
Pick one zone this weekend. Not the whole room — just the corner that annoys you most. Clear it out, measure the wall, and see how much of what came out actually needs to go back in.
FAQs
Do you need to finish a basement before you can organize the storage room?
No. Zoning the space, load-rated shelving, sealed bins, and humidity control all work the same in an unfinished basement, and exposed joists give you extra places to hang bikes and seasonal gear. Finishing changes how the room looks, not how the storage works.
Do you need a permit to build storage in a basement?
Freestanding shelving and bins usually aren’t treated as permitted work, but enclosing space, attaching racks to structural framing, or building walls and doors can trigger local requirements. Permit rules vary by state and municipality, so check with your local building department before you start.
How do you keep pests out of basement storage?
Replace cardboard boxes with sealed, locking plastic bins, since cardboard absorbs damp and houses insects. Keeping containers up off the basement floor on shelves removes the other easy harborage point.
Should a basement dehumidifier run all year?
Run it whenever relative humidity climbs above the EPA’s recommended range of 30 to 50 percent, which in many homes means most of the warm, humid months and less in winter. An inexpensive hygrometer tells you when it is actually needed instead of guessing.
What should you do first if the storage room has already taken on water?
Dry the wet materials fast, since the EPA notes that drying within 24 to 48 hours usually prevents mold, then get everything back off the floor onto shelves or risers before you restock. Treat anything porous that stayed wet as suspect rather than sealing it into a bin.
